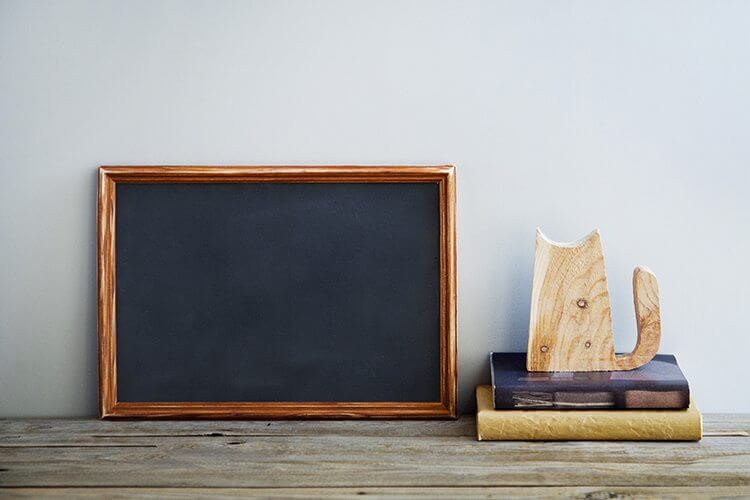
Keep your family on task with a magnetized blackboard.
The size of the frame (and the piece of sheet metal) will be determined by the size of your wall. Whatever size you choose, the project steps are the same. We found an unfinished wood frame, which we painted white. A piece of sheet metal in the same size was found at a local box store.
Traditional hues of blackboard (also called chalkboard) paint are green and black, but most specialty paint stores can tint the paint to the color you prefer.
Sand the metal with 120- to 200-grit paper to remove any gloss and wipe down with a damp cloth. Prime the sheet metal (if necessary). Following the instructions on the can of paint, paint the sheet metal with the suggested number of coats and let dry. Condition the surface by rubbing a piece of chalk on its side across the entire blackboard. Erase with a damp cloth.
Insert the sheet metal in the frame. Secure with the frame’s accompanying clips or brads. Attach hangers (if necessary) and hang. Add cup hooks at the bottom for keys. Hold take-out menus and flyers in place with the magnets. Get out the chalk and start writing notes and to-dos.


