photo @realfoodbytwomoms
Food dehydration is one of the most ancient methods of food preservation, with evidence of Middle Eastern and Asian cultures dehydrating food in the hot sun more than 14,000 years ago. Luckily for beginners, this long history makes food dehydration a very well-researched and accessible method of food preparation and preservation.
Healthy Snacking
Dehydrated foods are naturally preserved (no unnatural additives), typically high in antioxidants and fiber. Self-preparation of dehydrated foods can also mean less plastic waste compared to store-bought varieties, making dehydrating an eco-friendly and healthy choice.
For Julie Mosier of Bend, dehydrating was a way to create convenient and light backpacking meals for herself and her son. Years later, Mosier has authored The Dehydrated Cookbook For Outdoor Adventurers. She has also taught classes at Central Oregon Community College on the subject of dehydration. Dehydrated meals are lighter to carry around, making them ideal for backpackers who don’t want to be weighed down. Preparing these meals on the trail requires very little equipment, so hikers can ditch the bulky propane stove and opt to carry extra water instead to re-hydrate meals. In addition to full meals, dehydrating is a great method to create trail-friendly snacks, such as beef jerky or dried fruits and veggies.

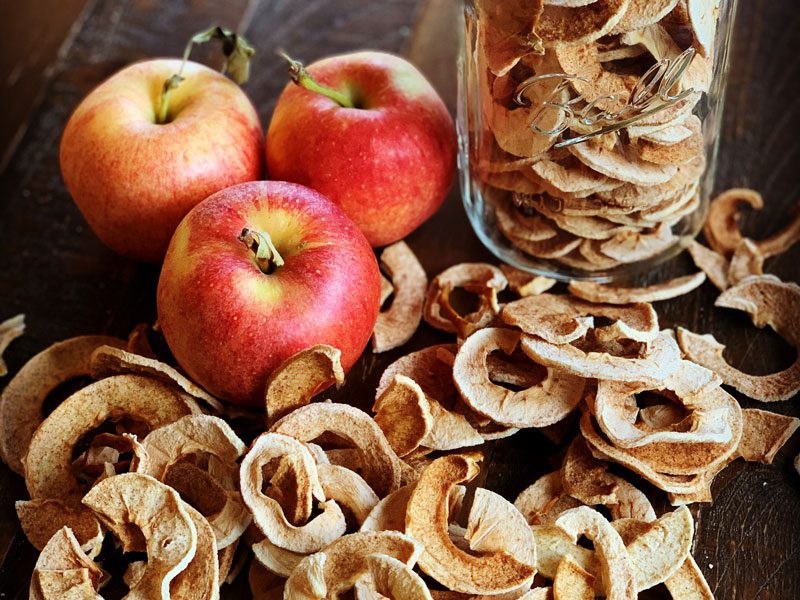
Fruity and Crisp: Dehydrating adds a fun crunch and can make fruits more palatable for kids and adults. Pay attention to portion size as it’s easy to over-consume.
Prepare and Preserve
So, how does dehydrating work? Depending on the resources at hand, dehydrating can be accomplished in a regular oven, but it’s preferable to use a dehydrator appliance. “I recommend trying to borrow a dehydrator, or find an inexpensive model,” Mosier said. “These can be found around town in stores like Sportsman’s Warehouse, Lowes, and Wilco.”
To avoid cooking your food instead of dehydrating, temperatures in a dehydrator are regulated to stay near 140 degrees fahrenheit; any hotter and the food might cook instead of dehydrating, locking in the moisture and preventing long-term preservation. “It’s the most efficient and best quality to have a dehydrator with both a fan and a thermostat,” said Glenda Hyde, associate professor of practice for Oregon State University’s Family and Community Health Program, specializing in food and nutrition for the OSU Extension Service. Hyde recommends getting an appliance certified by Underwriters Laboratories for food safety standards.
Depending on the amount and type of food being dehydrated, and the efficiency of the appliance, dehydrating can typically take anywhere from 8 to 24 hours. It often works out to begin dehydrating something in the evening and wake up to ready-to-eat dried fruits, meats and vegetables.
If an appliance isn’t readily available, dehydrating can be done in a regular oven, set to the lowest temperature possible. Since today’s ovens often only go as low in temperature as 170 degrees, this must be a careful process of trial and error, often done with the oven door propped open. Because spoilage is a risk using this method, it isn’t reccomended, Hyde said.

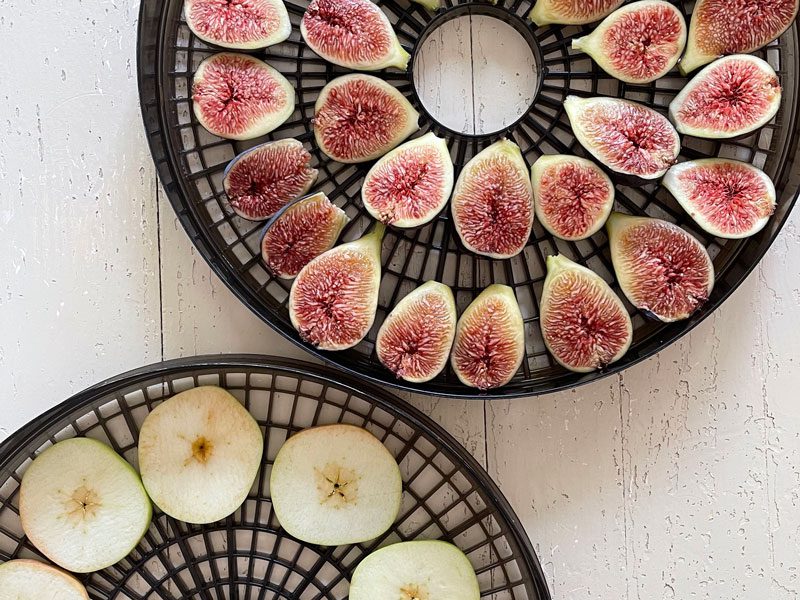
Keep it Simple: One way to simplify the dehydrating process is by purchasing pre-chopped frozen fruits and veggies and using them on the dehydrator, according to Glenda Hyde of the OSU Extension Service. Hyde recommends using silicone grids below dehydrator racks to prevent small pieces of food from falling through.
Dry This
As far as ingredients, pretty much everything is on the table; local fruits, veggies and meats can be found at farmers markets and stores such as Locavore, Bend’s year-round, indoor farmers market. At first, Mosier recommends keeping things easy and familiar. “At its simplest, one can simply chop up some fruits and veggies, place them in a dehydrator and walk away,” she said. “Alternatively, you can start with meals you already make, such as soup or chili, spread some on the trays, and you’ll end up with a dried version of a meal you already know and like.”
Mosier spent time experimenting with dehydration and testing recipes that would work well as trail meals. “I spent a great deal of time figuring out how to create nutritionally dense meals for my son’s backpacking trip,” Mosier said. These experiments led to some delicious discoveries, including how to improve recipes by dehydrating each ingredient separately for different times, creating different textures once the meal is re-hydrated and avoiding a “homogenous blob.”

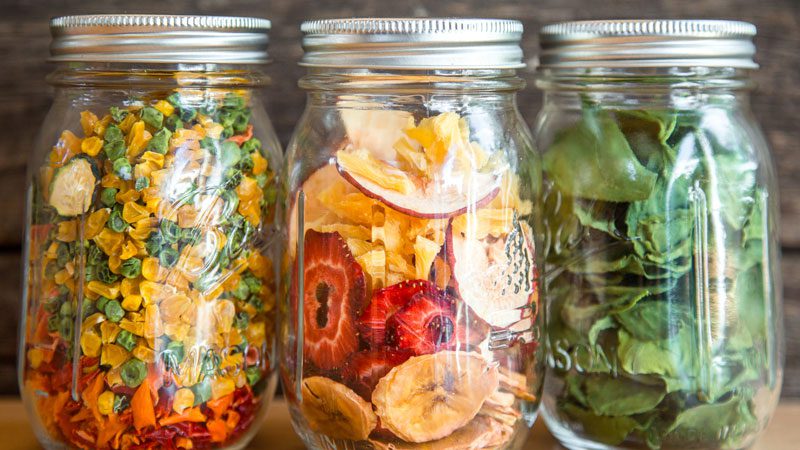
Shelf Life: For long-term storage, dehydrated foods are best kept in an area that is cool, dark and dry, like a closet or drawer, according to the OSU Extension Service.
One beginner friendly dehydration recipe that utilizes garden leftovers is dehydrated zucchini chips. Hyde said these can be dehydrated plain, or spiced up with barbecue sauce, salts or other herbs and spices. “The flavor just really pops,” Hyde said. Unlike dehydrated fruits, which can be high in carbs and sugar if overeaten, dehydrated veggies, like zucchini chips, are healthier.
Explore a dehydrating guidebook from the OSU Extension Office, which serves Deschutes County, at beav.es/OSUFoodPreservation.


